How to Sanitize Your RV Fresh Water Tank
3rd Sep 2024
Series 1, Episode 17


Welcome, RV enthusiasts! Whether you’re a seasoned traveler or new to the RV lifestyle, keeping your fresh water supply clean is crucial for a healthy and enjoyable trip. In this post, we'll walk you through the essential steps to sanitize a freshwater tank for RVs, ensuring your water is safe for drinking and cooking. We'll also highlight how to maintain your system for long-term use.
Importance of Maintaining Clean Water in Your RV
Imagine being miles away from civilization, only to realize your water tastes off or smells funny. Clean water in your RV isn’t just about taste; it's vital for your health and well-being. Contaminated water can lead to various illnesses, which can ruin your travel experience. Plus, keeping your freshwater tank for the RV clean extends its life and ensures the smooth operation of your water system.
Step 1: Drain the System
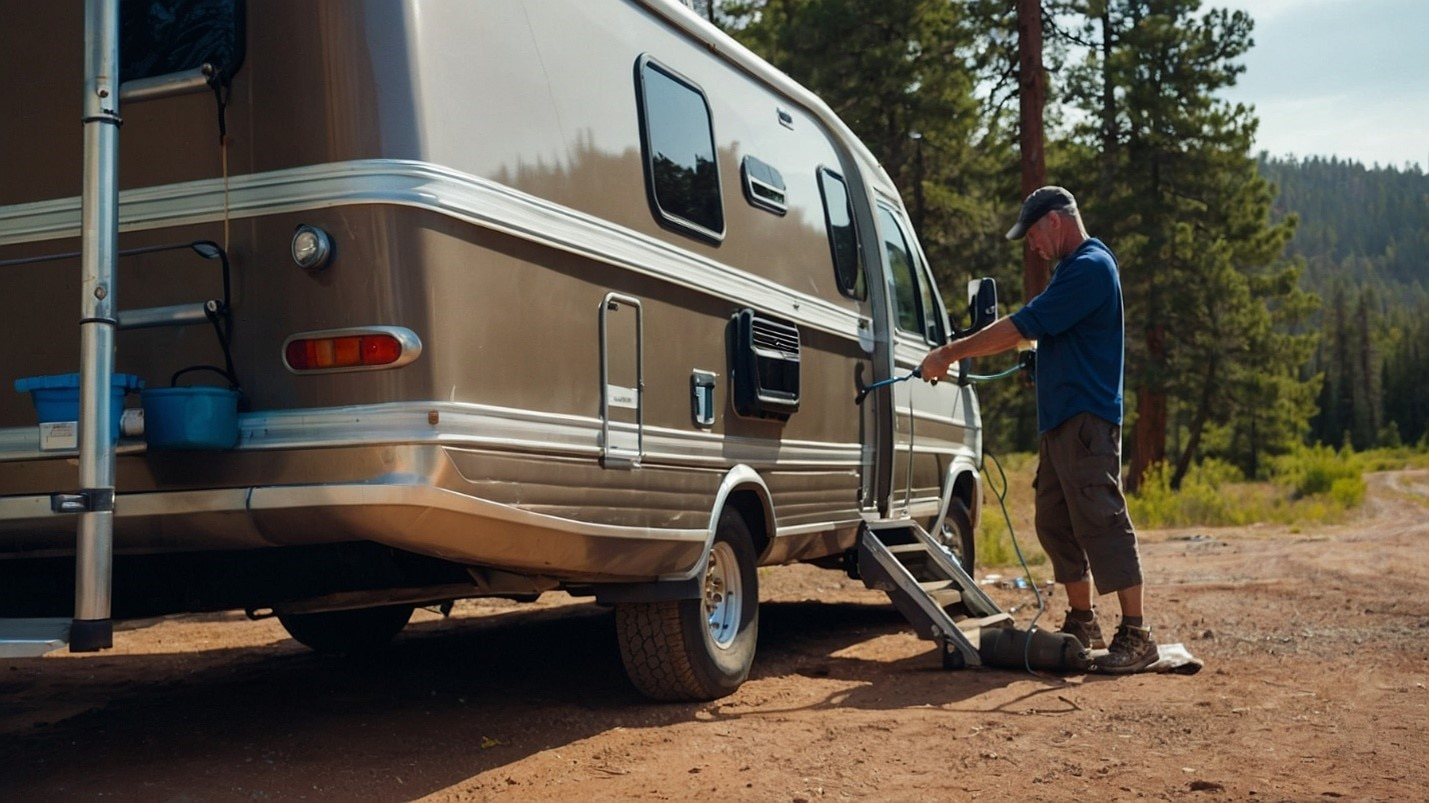
Before sanitizing, you need to start with an empty slate. Begin by turning off the water heater to avoid damaging it. Next, open all faucets and drain any existing water from your RV freshwater tank and lines. This step is crucial for effective sanitation.
Step 2: Prepare the Sanitizing Solution
Now that your tank is empty, it’s time to prepare the sanitizing solution. For this, you'll need regular household bleach. Use a ratio of 1/4 cup of bleach for every 15 gallons of water your tank holds. Dilute the bleach in a gallon of water before adding it to your tank. This mixture will effectively kill harmful bacteria without damaging the tank.
Step 3: Add The Solution to the RV Freshwater Tank
Using a funnel, carefully pour the bleach solution into the freshwater tank for the RV. Once added, fill the tank with potable water to ensure the bleach is evenly distributed. Your RV's water pump will help move the solution through the system.
Step 4: Circulate the Solution
Turn on all faucets and run the bleach solution through until you smell the bleach from each one. This ensures that the sanitizing solution reaches every part of the water system, including pipes and fixtures. Make sure to include hot and cold lines for a thorough cleaning.
Step 5: Let the Solution Sit
Allow the bleach solution to sit in the tank and water lines for 12 to 24 hours. This duration is optimal for killing any bacteria present. The freshwater tank for a motorhome should not contain the bleach solution any longer than 24 hours, in order to prevent any potential damage to the system or equipment.
Step 6: Drain and Flush the System
After the solution has done its job, drain the bleach solution from your RV freshwater tank. Open all faucets and drain the system completely. Flush the tank and lines with fresh water multiple times to remove any remaining bleach residue. Repeat this step until the bleach smell is gone.
Step 7: Final Rinse and Refill
For the final touch, rinse your tank with fresh water one last time. Ensure no bleach odor remains, as this could affect the taste of your water. Once satisfied, refill your freshwater tank with potable water, making it ready for regular use.
Maintenance Tips
Sanitizing the freshwater tank for an RV should be a regular part of anyone’s RV maintenance routine. Aim to sanitize at least twice a year, or more often if you use your RV frequently. To maintain water quality, always use filtered water and keep the tank sealed when not in use. Regularly inspect your freshwater tank for any signs of damage or contamination.
Maintaining a clean RV freshwater tank is essential for a safe and enjoyable travel experience. By following these simple steps, you'll ensure your water supply is fresh and healthy, allowing you to focus on the adventure ahead. For top-quality RV parts and accessories, including freshwater tanks, visit ICONDirect.com. Our extensive range of products and commitment to quality make us the go-to choice for RV enthusiasts. Happy traveling!
